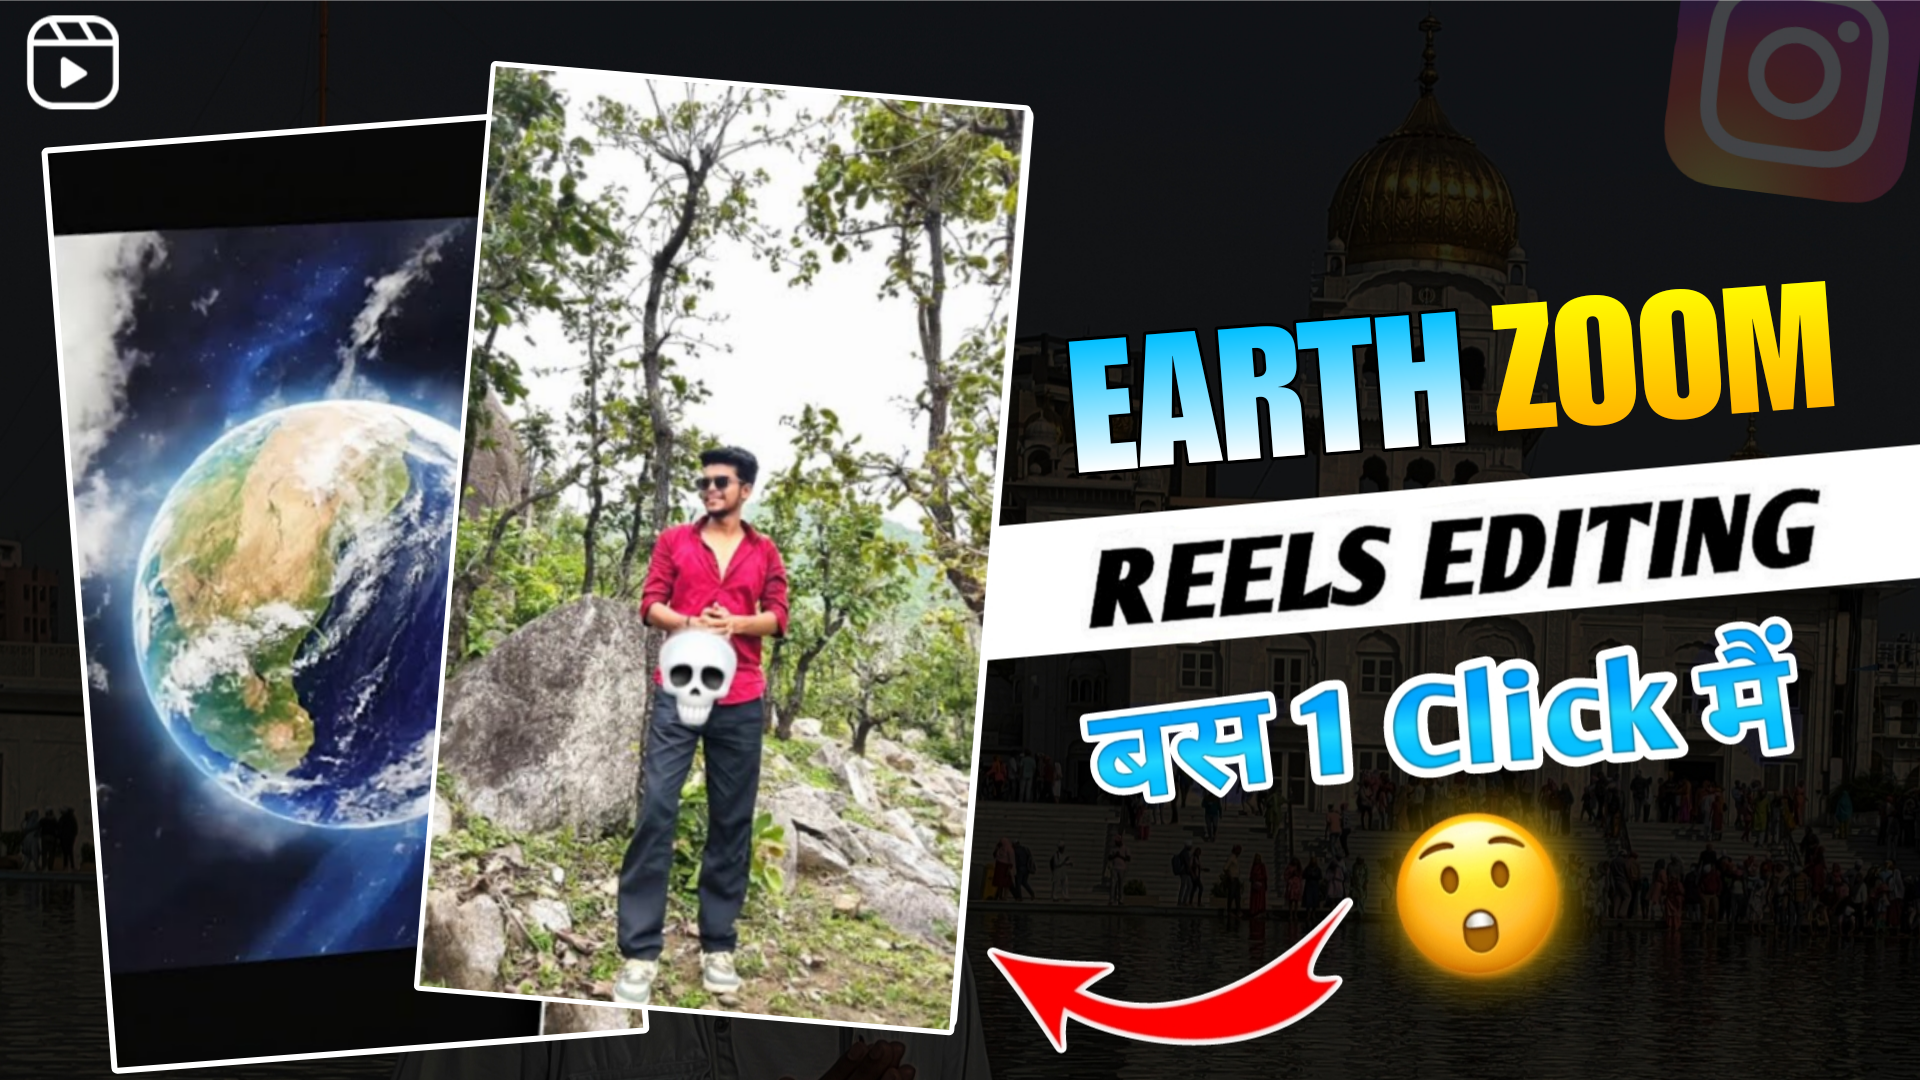
The Earth Zoom effect has become a popular visual trend in video editing, commonly seen in cinematic intros, travel videos, YouTube vlogs, and even corporate presentations. If you’ve ever watched a video that zooms in seamlessly from outer space all the way to a specific location on Earth (or vice versa), you’ve witnessed the magic of the Earth Zoom effect.
But how is it done? In this post, we’ll break down what the Earth Zoom effect is, how you can create it, and what tools or software make the process easier.
🛰️ What Is the Earth Zoom Effect?
The Earth Zoom effect creates the illusion of zooming in from a satellite view of Earth all the way down to a street or building. It often involves multiple layers of images or video, carefully blended to simulate a continuous, smooth zoom.
This effect is used to:
- Introduce a location dynamically
- Create a cinematic travel sequence
- Impress audiences with a high-impact transition
🎬 Tools You Need
To achieve this effect, you can use professional editing software. Here are the most popular ones:
- Adobe After Effects (most flexible with plugins like Motion Bro, or custom transitions)
- Final Cut Pro X
- DaVinci Resolve (free and powerful)
- HitFilm Express (for budget-friendly editors)
- Google Earth Studio (for generating zoom animations directly from satellite imagery)
If you want quick results, many templates are also available on platforms like Envato Elements or Motion Array.
📍Step-by-Step: How to Create the Earth Zoom Effect
1. Collect Your Images or Footage
- Start with a satellite view of Earth (from Google Earth or NASA imagery).
- Download several zoomed-in images progressively closer to your destination (continent → country → city → street).
- Use high-resolution images to keep the zoom clean and smooth.
2. Arrange Layers in Your Editing Software
- Stack the images from farthest to closest.
- Use keyframes to animate the scale and position of each layer to simulate zooming in.
3. Add Motion Blur & Transitions
- To make the zoom look realistic, add motion blur or radial blur.
- Use cross dissolves or fade transitions to smooth the change between layers.
4. Add a Final Touch: A Map Pin or Location Text
- Drop a pin or add text once you reach your destination to finish the effect with style.
🌍 Bonus: Using Google Earth Studio
Google Earth Studio is a free web-based tool that lets you animate 3D Earth views easily. You can export these animations and use them in your video.
Why use it?
- It’s fast
- Automatically renders realistic zooms
- No need for complex image layering
Just sign in with a Google account and start creating animations using templates like “Zoom To” or “Orbit.”
🔥 Tips for a Smooth Earth Zoom
- Use easing in keyframes for smoother movement.
- Match lighting and color tones between images or video clips.
- Add sound effects like whooshes or ambient space sounds to elevate the impact.
- Keep render settings high, especially if you’re zooming deep—low resolution will break the illusion.
✈️ Final Thoughts
The Earth Zoom effect is a stunning visual tool that can add depth, professionalism, and cinematic flair to your videos. Whether you’re creating a travel vlog, a sci-fi short film, or an opening sequence for your YouTube channel, learning how to execute this effect can level up your content dramatically.
Have you tried the Earth Zoom effect in your edits? Share your experience or questions in the comments below!
